
How to Convert Your Existing Website to Elementor: A Complete Step-by-Step Guide
If you already have a website — built on HTML, Wix, Squarespace, Webflow, or an older WordPress page builder — and you want to move it to Elementor, the process is very doable without a full teardown-and-rebuild. This guide walks through every stage: preparing your current site, setting up WordPress and Elementor, rebuilding your pages, protecting your SEO rankings during the switch, and testing before you go live.
Table of Contents
- Before You Start: Pre-Migration Checklist
- Step 1 — Set Up WordPress and Hosting
- Step 2 — Install Elementor (Free vs. Pro)
- Step 3 — Audit Your Existing Content and Pages
- Step 4 — Preserve Your SEO Rankings During the Move
- Step 5 — Rebuild Your Pages with Elementor
- Step 6 — Match Your Original Design (Global Styles)
- Step 7 — Optimize Performance After Migration
- Step 8 — Test on Mobile and Across Browsers
- Step 9 — Pre-Launch QA Checklist
- Common Mistakes to Avoid
- FAQ
- When to Hire a Professional Migration Service
1. Before You Start: Pre-Migration Checklist
Skipping preparation is the #1 cause of broken migrations. Before touching Elementor:
- Back up your entire current site — files and database (if applicable). Use a plugin like UpdraftPlus or your host’s backup tool, or export static files if it’s a plain HTML site.
- Take full-page screenshots of every important page on your current site, at desktop and mobile widths. You’ll use these as a visual reference while rebuilding.
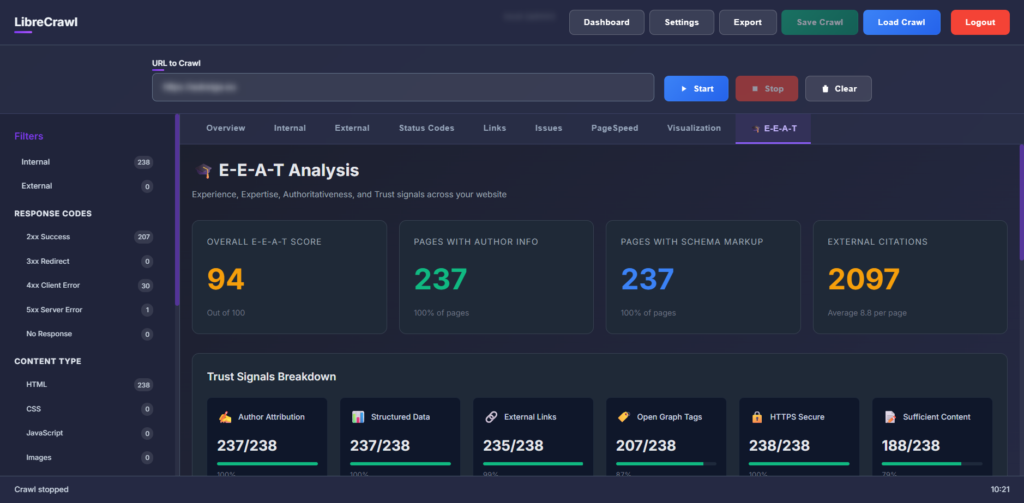
- List every URL on your current site (export a sitemap or crawl it with Screaming Frog / LibreCrawl). You’ll need this list intact for the SEO step later.
- Set up a staging environment. Never rebuild directly on your live domain — use a staging subdomain or local environment (Local WP, DevKinsta, etc.) and only push live once everything is verified.
- Check your current traffic sources in Google Search Console and Analytics so you know which pages get real traffic and need the most care during rebuild.
2. Step 1 — Set Up WordPress and Hosting
If your current site isn’t on WordPress, you’ll need to get WordPress running first.
- Choose hosting that officially supports WordPress and Elementor (most managed WordPress hosts qualify — look for PHP 8.1+, at least 512MB memory limit).
- Install WordPress — most hosts offer one-click installers (cPanel → Softaculous, or a dedicated “Install WordPress” button).
- Set your permalink structure before creating any content: go to Settings → Permalinks and choose “Post name.” This matters for the URL-preservation step later.
- Install a lightweight, Elementor-compatible theme. Hello Elementor (free, by the Elementor team) is the standard choice — it ships with almost no default styling, so Elementor controls everything and there’s no CSS conflict.
If your current site is already on WordPress but uses a different builder (Divi, WPBakery, Beaver Builder, Gutenberg), you can skip straight to Step 2 — no new WordPress install needed, just a new page builder.
3. Step 2 — Install Elementor (Free vs. Pro)
Go to Plugins → Add New, search “Elementor,” and install + activate.
Free vs. Pro — what you actually need:
| Feature | Elementor Free | Elementor Pro |
|---|---|---|
| Drag-and-drop editor | Yes | Yes |
| Basic widgets (text, image, button) | Yes | Yes |
| Theme Builder (header/footer/archive templates) | No | Yes |
| Popup Builder, Forms, WooCommerce Builder | No | Yes |
| Custom fonts, global colors | Limited | Full |
For a business site with a custom header/footer and any kind of form, Pro is worth it from day one — rebuilding those elements twice (once in Free, again after upgrading) wastes time.
4. Step 3 — Audit Your Existing Content and Pages
Before rebuilding anything, categorize every page from your URL list into:
- Keep as-is (just rebuild visually) — most standard pages
- Consolidate — thin or duplicate pages that should be merged into one stronger page
- Redirect and retire — outdated pages with no current value
- Rebuild from scratch — pages whose structure genuinely needs to change
This step is what separates a fast, high-quality migration from a slow one — you stop wasting time meticulously rebuilding pages that shouldn’t exist anymore.
5. Step 4 — Preserve Your SEO Rankings During the Move
This is the step most guides skip, and it’s the one that determines whether your traffic survives the switch.
- Keep the same URL slugs wherever possible. If
/pricingexists today,/pricingshould exist after migration too — same permalink, same page. - Where a URL must change, set up a 301 redirect from the old URL to the new one (Redirection plugin, or server-level rules if you manage Nginx/Apache directly).
- Re-apply on-page SEO metadata — title tags, meta descriptions, alt text — using Yoast, RankMath, or AIOSEO. Don’t let the new pages go live with default/empty metadata.
- Re-implement schema markup (Organization, Article, Product, FAQ, etc.) if your old site had it — Elementor Pro’s Theme Builder plus your SEO plugin can regenerate most of this.
- Submit an updated XML sitemap in Google Search Console after launch, and use the URL Inspection tool to request re-indexing for your most important pages.
- Monitor Search Console for 404 spikes in the two weeks after launch — that’s your early warning system for any URLs you missed.
6. Step 5 — Rebuild Your Pages with Elementor
Now the actual rebuild, page by page:
- Open the page in WordPress and click Edit with Elementor.
- Build in sections → columns → widgets, working top to bottom against your reference screenshot from Step 1.
- Use Elementor’s widget library for common elements (Image, Heading, Button, Icon Box, Slider) rather than embedding raw HTML/CSS where possible — this keeps the page editable long-term without a developer.
- For anything not covered by default widgets (custom sliders, complex animations), consider a widget add-on pack (Essential Addons, PowerPack) instead of custom code, unless you specifically want code-level control.
- Save each page as a template if you’ll reuse the layout (e.g., a service-page template used across 10 similar pages) — this saves significant time on multi-page migrations.
7. Step 6 — Match Your Original Design (Global Styles)
Before rebuilding individual pages, set this once in Elementor → Site Settings:
- Global Colors — pull your exact brand hex codes from your old site’s CSS (browser DevTools → Inspect → Computed styles) and set them as Elementor global colors.
- Global Fonts — match heading and body fonts exactly, including weights and sizes.
- Default spacing and container width — match your old site’s max content width so layouts don’t suddenly feel wider or narrower.
Setting these globally before building pages means every new page automatically inherits consistent branding — you’re not manually re-picking colors and fonts every time.
8. Step 7 — Optimize Performance After Migration
Elementor pages can be heavier than static HTML if left unoptimized. After rebuilding:
- Compress all images on upload (ShortPixel, Imagify, or built-in WordPress image compression) and convert to WebP.
- Enable lazy loading for images and videos below the fold (Elementor has this built in under Site Settings → Performance).
- Use a caching plugin (WP Rocket, LiteSpeed Cache, or W3 Total Cache) — this alone often fixes most of the speed regression from switching builders.
- Disable unused Elementor features under Site Settings → Advanced → Experiments if you don’t use them (e.g., disable widgets you never use).
- Re-run PageSpeed Insights / GTmetrix and compare Core Web Vitals before and after migration — this is your objective proof the migration didn’t hurt performance.
9. Step 8 — Test on Mobile and Across Browsers
Elementor’s responsive editor gives you three breakpoints (desktop, tablet, mobile) by default — check every rebuilt page at all three:
- Use Elementor’s built-in responsive preview (icons at the bottom of the editor).
- Manually check on a real phone, not just the in-editor preview — some spacing and touch-target issues only show up on a real device.
- Test in Chrome, Safari, and Firefox at minimum — Safari in particular sometimes renders flexbox/grid spacing differently.
10. Step 9 — Pre-Launch QA Checklist
Before pointing your domain at the new site:
- All forms submit correctly and notification emails arrive
- All internal links point to the correct new URLs (no broken links)
- 301 redirects are in place and tested for every changed URL
- Favicon, SSL certificate, and analytics/tracking codes are all installed
- 404 page exists and looks intentional
- Site speed tested (Core Web Vitals within acceptable range)
- XML sitemap generated and ready to submit
11. Common Mistakes to Avoid
- Deleting the old page builder plugin too early. If you had WPBakery, Divi, etc., keep it installed until every page is fully rebuilt — removing it early leaves broken shortcodes on unmigrated pages.
- Changing URLs without redirects. This is the single biggest cause of traffic loss during a page-builder migration.
- Skipping the staging environment. Rebuilding live risks visible broken pages and downtime during business hours.
- Ignoring image optimization. A visually “complete” migration that loads slowly will still hurt both rankings and conversions.
- Forgetting mobile testing until the end. Test each page’s mobile view as you build it, not all at once at the very end.
12. FAQ
Will I lose my Google rankings if I switch to Elementor?
Not if you preserve URLs and set up redirects correctly (see Step 4). A temporary ranking dip is common with any major site change; a clean technical migration should recover within a few weeks.
Can I convert a non-WordPress site (Wix, Squarespace, Webflow) directly to Elementor?
Not automatically — there’s no one-click import between these platforms. You migrate to WordPress first, then rebuild each page visually in Elementor using your old site as a reference.
How long does converting a website to Elementor typically take?
For a straightforward 5–10 page business site, expect 1–2 weeks solo, faster with a team or a migration service. Larger sites (50+ pages) take proportionally longer, especially with careful SEO redirect mapping.
Do I need Elementor Pro to do this?
Free Elementor can rebuild basic content pages. If your site has a custom header/footer, popups, or forms, Pro will save significant rebuild time.
13. When to Hire a Professional Migration Service
If your site has 20+ pages, custom functionality, or you simply don’t have the time to do the URL mapping and redirect work carefully, a professional migration service can complete the process faster and with less SEO risk than a DIY rebuild — especially the redirect-mapping and metadata-preservation steps, which are easy to get wrong under time pressure.

Mēs esam web izstrādes komanda, kas ikdienā strādā ar WordPress, WooCommerce, Elementor un vairāki desmitiem klientu vietņu — no restorāniem un viesnīcām līdz medicīnas iestādēm un ražošanas uzņēmumiem. toelementor.com izauga tieši no reālas nepieciešamības: klienti bieži vēlas pāriet no vecākiem page builderiem (WPBakery, Divi, Beaver Builder) vai citām platformām (Wix, Squarespace, Webflow) uz Elementor, nezaudējot dizainu, saturu vai Google pozīcijas.
Mūsu specializācija ir tehniskā SEO audita apvienošana ar praktisku migrācijas darbu — katru migrāciju pavada URL saglabāšana, 301 redirect kartēšana un pēc-migrācijas veiktspējas pārbaude, ne tikai vizuāla pārbūve.